Use Supabase with Refine
Learn how to create a Supabase project, add some sample data to your database, and query the data from a Refine app.
1. Create a Supabase project#
Before you can use Supabase, you need a Supabase project. You can create a project visually in the Dashboard or programmatically using the Management API.
Create a new Supabase project from the Dashboard of any organization you belong to.
You can also use database.new to create a new Supabase project.
2. Install agent skills (optional)#
Agent Skills are curated instruction sets that give your AI agent procedural knowledge about working with Supabase.
Install them in your project with:
1npx skills add supabase/agent-skills3. Set up your database#
When your Supabase project is up and running, create an instruments table with some sample data. Then set only the privileges each Postgres role needs, add Row Level Security (RLS) for enhanced security for database data by default, and create an RLS policy to make the data in the table publicly readable.
Save some steps by clicking here to prefill the SQL in the SQL Editor, and then clicking Run.
Or do this manually in your project's SQL Editor, by pasting the SQL below, and clicking Run.
1-- Create the table2create table instruments (3 id bigint primary key generated always as identity,4 name text not null5);67-- Insert sample data into the table8insert into instruments (name)9values10 ('violin'),11 ('viola'),12 ('cello');1314-- Grant the privileges the role needs, which is read access15grant select on public.instruments to anon;1617-- Enable row level security for the table18alter table instruments enable row level security;1920-- Create a policy to allow the anon role to read from the instruments table21create policy "public can read instruments"22on public.instruments23for select to anon24using (true);If you disabled the Data API during project setup, enable it in the Integrations > Data API section of the Dashboard and expose the specific tables or functions you want to access. To automatically grant access for new tables and functions in public, enable Automatically expose new tables.
4. Create a Refine app#
Create a Refine app using the create refine-app.
The refine-supabase preset adds @refinedev/supabase supplementary package that supports Supabase in a Refine app. @refinedev/supabase out-of-the-box includes the Supabase dependency: supabase-js.
1npm create refine-app@latest -- --preset refine-supabase my-app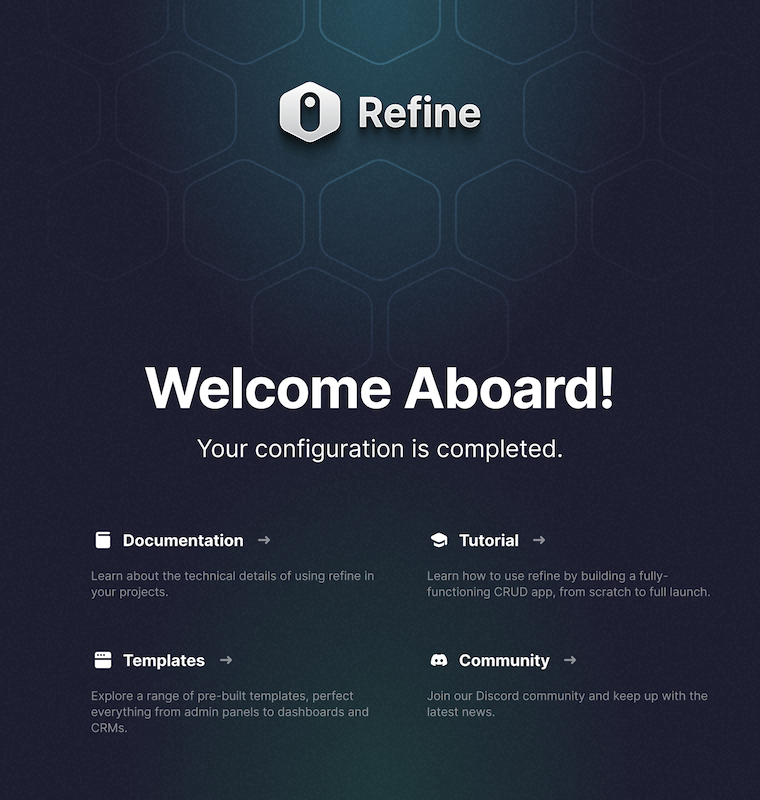
Get API details#
To interact with data in database tables, you use the client libraries that wrap the auto-generated Data API endpoints, authenticating using the Project URL and key from the project Connect dialog.
Project URL
Publishable key
Read the API keys docs for a full explanation of all key types, their uses, and where to find them.
5. Update supabaseClient with environment variables#
Update the supabaseClient with the SUPABASE_URL and SUPABASE_KEY of your Supabase API, which you can get from the helper above, or from the project Connect panel. The supabaseClient is used in auth provider and data provider methods that allow the Refine app to connect to your Supabase backend.
Open Connect panel
src/utility/supabaseClient.ts
1import { createClient } from '@refinedev/supabase'23const SUPABASE_URL = '<your-supabase-url>'4const SUPABASE_KEY = '<your-supabase-publishable-key>'56export const supabaseClient = createClient(SUPABASE_URL, SUPABASE_KEY, {7 db: {8 schema: 'public',9 },10 auth: {11 persistSession: true,12 },13})6. Add instruments resource and pages#
Use the following code to automatically add resources and generate code for the pages to show the instruments data using Refine Inferencer.
This defines pages for list, create, show and edit actions inside the src/pages/instruments/ directory with a <HeadlessInferencer /> component.
The <HeadlessInferencer /> component depends on @refinedev/react-table and @refinedev/react-hook-form packages. To avoid errors, you should install them as dependencies with npm install @refinedev/react-table @refinedev/react-hook-form.
The <HeadlessInferencer /> is a Refine Inferencer component that automatically generates necessary code for the list, create, show and edit pages.
Read more on how the Inferencer works is in the Refine docs.
1npm run refine create-resource instruments7. Add routes for instruments pages#
Add routes for the list, create, show, and edit pages.
Remove the index route for the Welcome page presented with the <Welcome /> component.
src/App.tsx
1import { Refine } from '@refinedev/core'2import { RefineKbar, RefineKbarProvider } from '@refinedev/kbar'3import routerProvider, {4 DocumentTitleHandler,5 NavigateToResource,6 UnsavedChangesNotifier,7} from '@refinedev/react-router'8import { dataProvider, liveProvider } from '@refinedev/supabase'9import { BrowserRouter, Route, Routes } from 'react-router-dom'1011import './App.css'1213import authProvider from './authProvider'14import {15 InstrumentsCreate,16 InstrumentsEdit,17 InstrumentsList,18 InstrumentsShow,19} from './pages/instruments'20import { supabaseClient } from './utility'2122function App() {23 return (24 <BrowserRouter>25 <RefineKbarProvider>26 <Refine27 dataProvider={dataProvider(supabaseClient)}28 liveProvider={liveProvider(supabaseClient)}29 authProvider={authProvider}30 routerProvider={routerProvider}31 options={{32 syncWithLocation: true,33 warnWhenUnsavedChanges: true,34 }}35 resources={[36 {37 name: 'instruments',38 list: '/instruments',39 create: '/instruments/create',40 edit: '/instruments/edit/:id',41 show: '/instruments/show/:id',42 },43 ]}44 >45 <Routes>46 <Route index element={<NavigateToResource resource="instruments" />} />47 <Route path="/instruments">48 <Route index element={<InstrumentsList />} />49 <Route path="create" element={<InstrumentsCreate />} />50 <Route path="edit/:id" element={<InstrumentsEdit />} />51 <Route path="show/:id" element={<InstrumentsShow />} />52 </Route>53 </Routes>54 <RefineKbar />55 <UnsavedChangesNotifier />56 <DocumentTitleHandler />57 </Refine>58 </RefineKbarProvider>59 </BrowserRouter>60 )61}6263export default App8. View instruments pages#
Start the app with the following command:
1npm run devOpen http://localhost:5173/instruments in a browser, and you should be able to see the instruments pages along the /instruments routes. You can edit and add new instruments using the Inferencer generated UI.
The Inferencer auto-generated code gives you a good starting point on which to keep building your list, create, show and edit pages. You can get these by clicking the Show the auto-generated code buttons in their respective pages.